

Building a Field Tourniquet

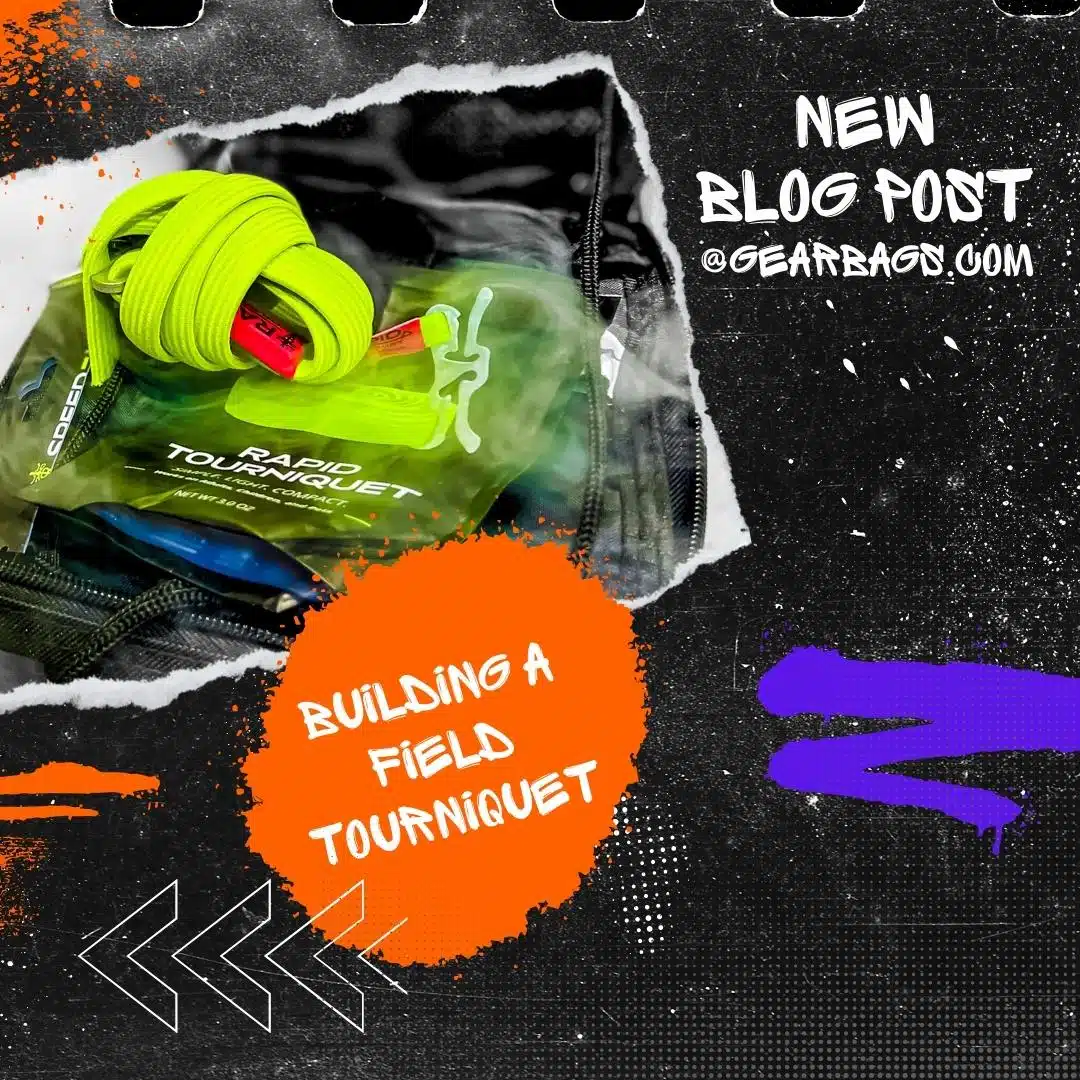
Knowing how to make an improvised field tourniquet can mean the difference between life and death.
Frequently Asked Questions
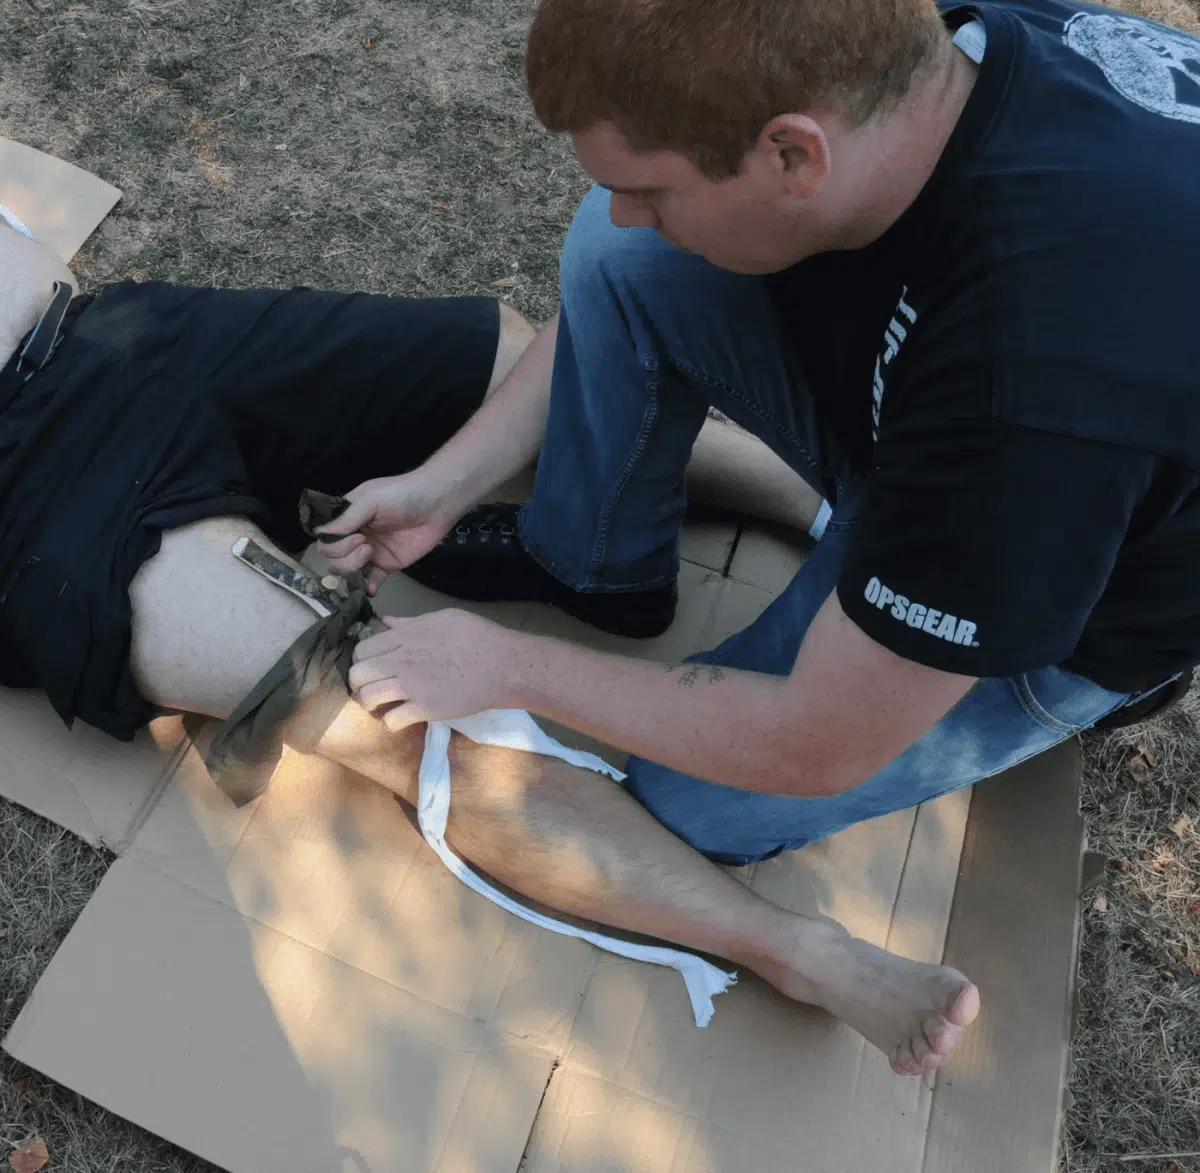
Wrap a strip of fabric about three inches wide around the limb two to four inches above the wound, never directly on a joint, keeping it flat against the skin. Knot the ends around a rigid object like a stick or pen, then twist that windlass to tighten until the bleeding stops, and secure it.
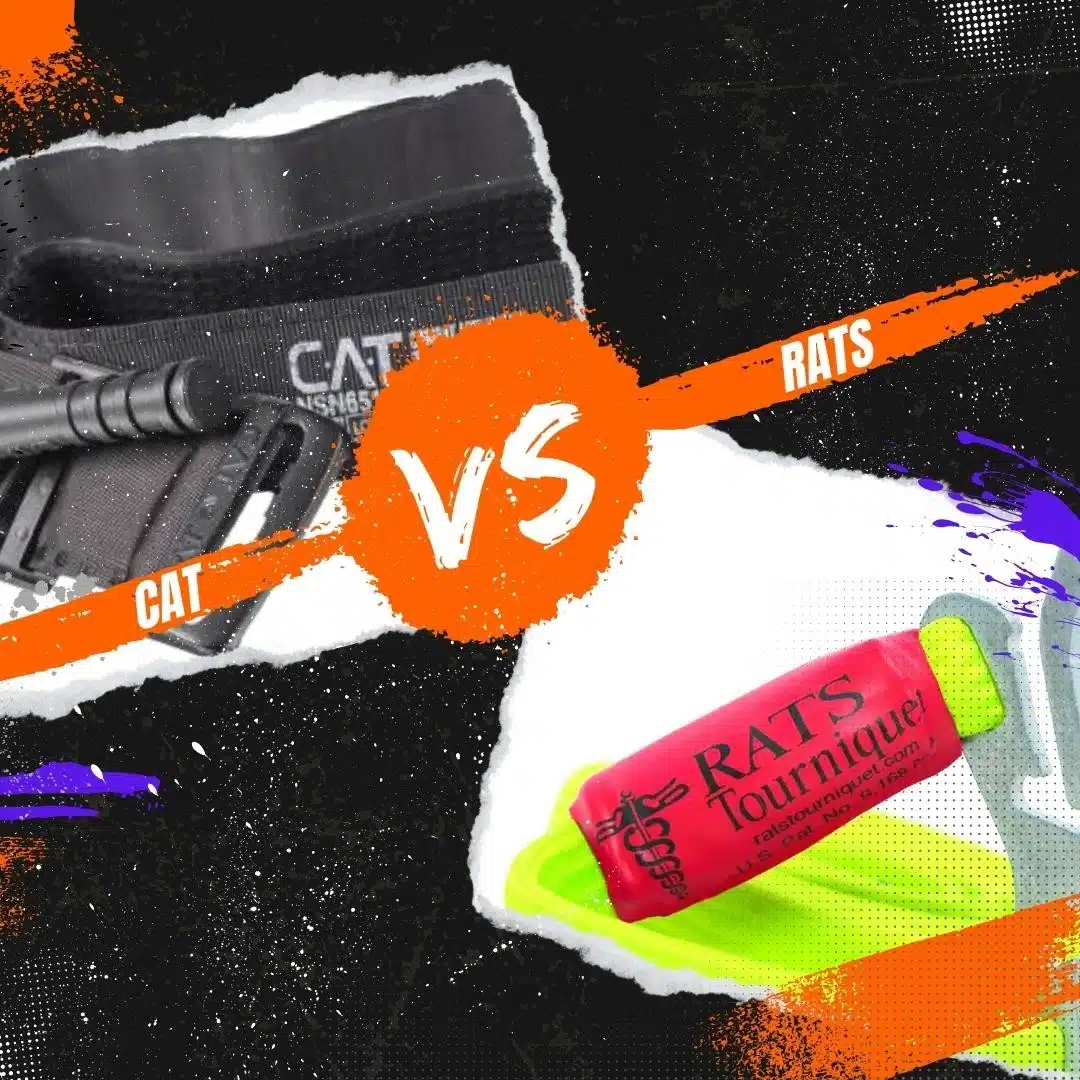
A belt is usually too thick and stiff to twist tight enough to fully stop arterial bleeding, and it cannot hold a windlass well. A wide cloth tightened with a rigid stick works better, but a manufactured tourniquet is far more reliable and should be your first choice whenever one is available.
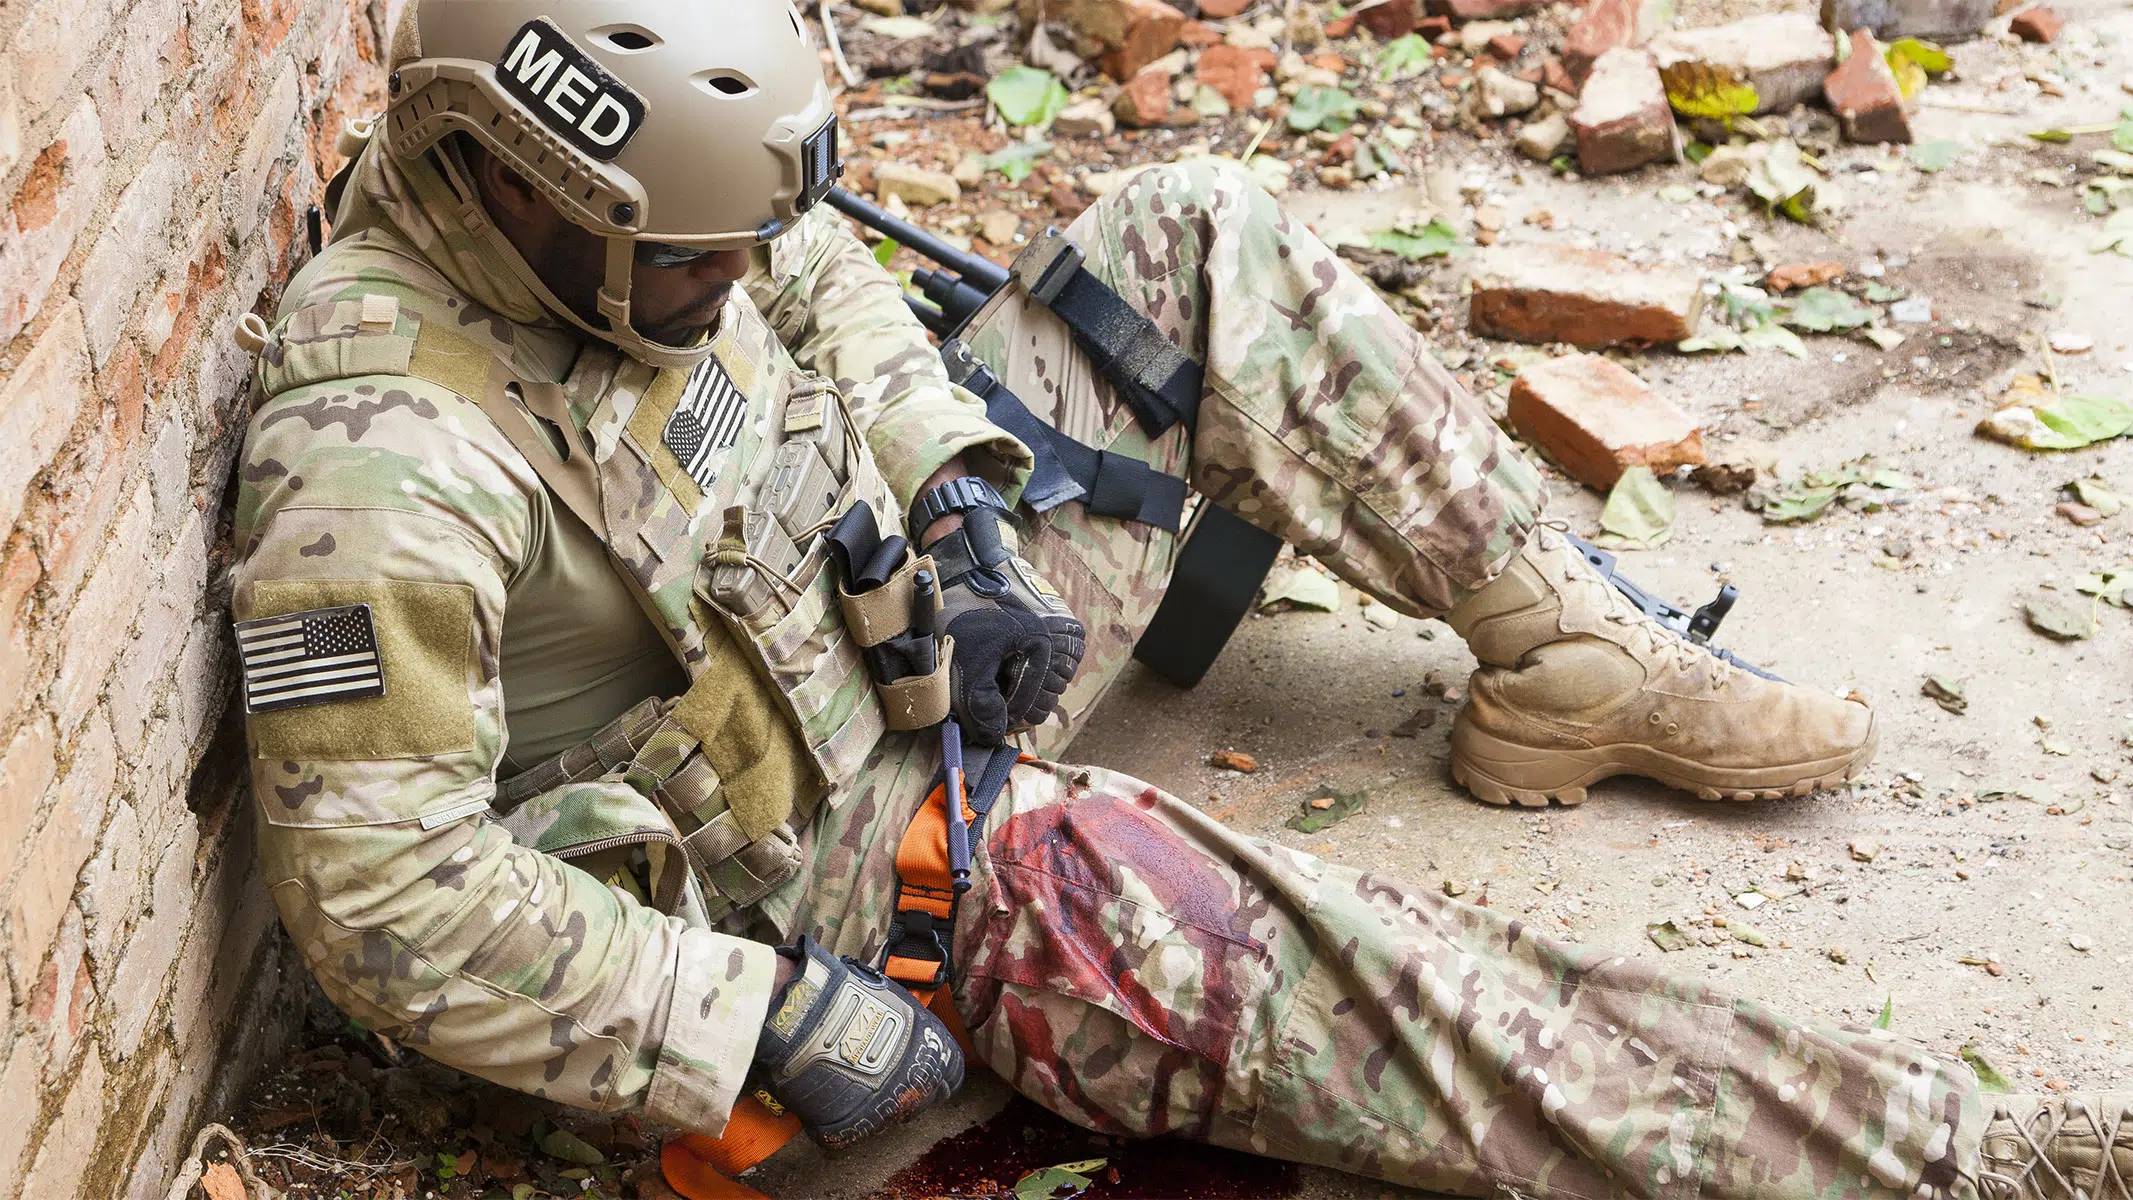
Tighten it until the bleeding stops and you can no longer feel a pulse below the tourniquet. It will be painful, and that is expected. Once it is on and bleeding is controlled, do not loosen or remove it; note the time it was applied and get the patient to professional care.
Note the application time and leave it in place. A tourniquet can generally remain on for a couple of hours with low risk, and it should not be removed in the field. Let medical professionals manage loosening or removal once the patient reaches definitive care.
Yes. A manufactured, CoTCCC-recommended tourniquet such as the Combat Application Tourniquet is far more reliable and faster to apply than anything improvised. Build a field tourniquet only when you have no commercial option, and carry a real one in your kit so you are never forced to improvise.


 Accessories
 Gear Bag Accessories
 Glove Straps
 Med Pouches
 SCBA Mask Bags
 Small Bags & Kits
 Clearance
 Embroidery
 Personalized EMT Bags
 Personalized Firefighting Bags
 Personalized Patches
 FireFighting Bags
 Bags Under $60
 No Logo Gear Bags
 Package Deals
 Rescue Bags
 Rolling Gear Bags
 SCBA Mask Bags
 Step-In Turnout Bags
 First Responder Kits
 Backpack/Sling Kits
 Beginner Kits
 Everyday First Aid Kits
 Intermediate Kits
 Kits under $150
 Kits w/ Oxygen
 OSHA First Aid Kits
 Portable First Aid Kits
 Stocked Kits
 Tactical Trauma Kits
 Custom Kit Builder
 Medical Bags
 Backpacks & Slings
 Basic EMT Bags
 Bags Under $60
 IFAKs & Pouches
 Modular EMT Bags
 Oxygen Bags
 TacMed Bags
 New
New Supplies
 Airway & Breathing
 Bleeding/TacMed
 Diagnostic
 First Aid & Meds
 Gauze/Bandages
 Hemostatic
 Instruments / Misc
 Med Pods & Mini Kits
 Splinting/Immobilization
 Tactical Bags
 Backpacks & Slings
 Fire Police Bags
 IFAK Pouches
 Law Enforcement Bags
 Tactical Accessories
 Tactical Trauma Kits
 Backpacks & Slings
 Kits w/ QuikClot
 Refill Kits
 Small Kits + IFAK’s