Hopefully, you already have a tourniquet in your IFAK or home first aid kit. If you don’t, it’s easily one of the most important pieces of equipment you could have in your kit and it’s important that you get one. Whether you currently have a tourniquet or not, there may come a day where you need one in an emergency, and you’ll have to make do with whatever you have on hand.
Knowing how to make an improvised field tourniquet can mean the difference between life and death.

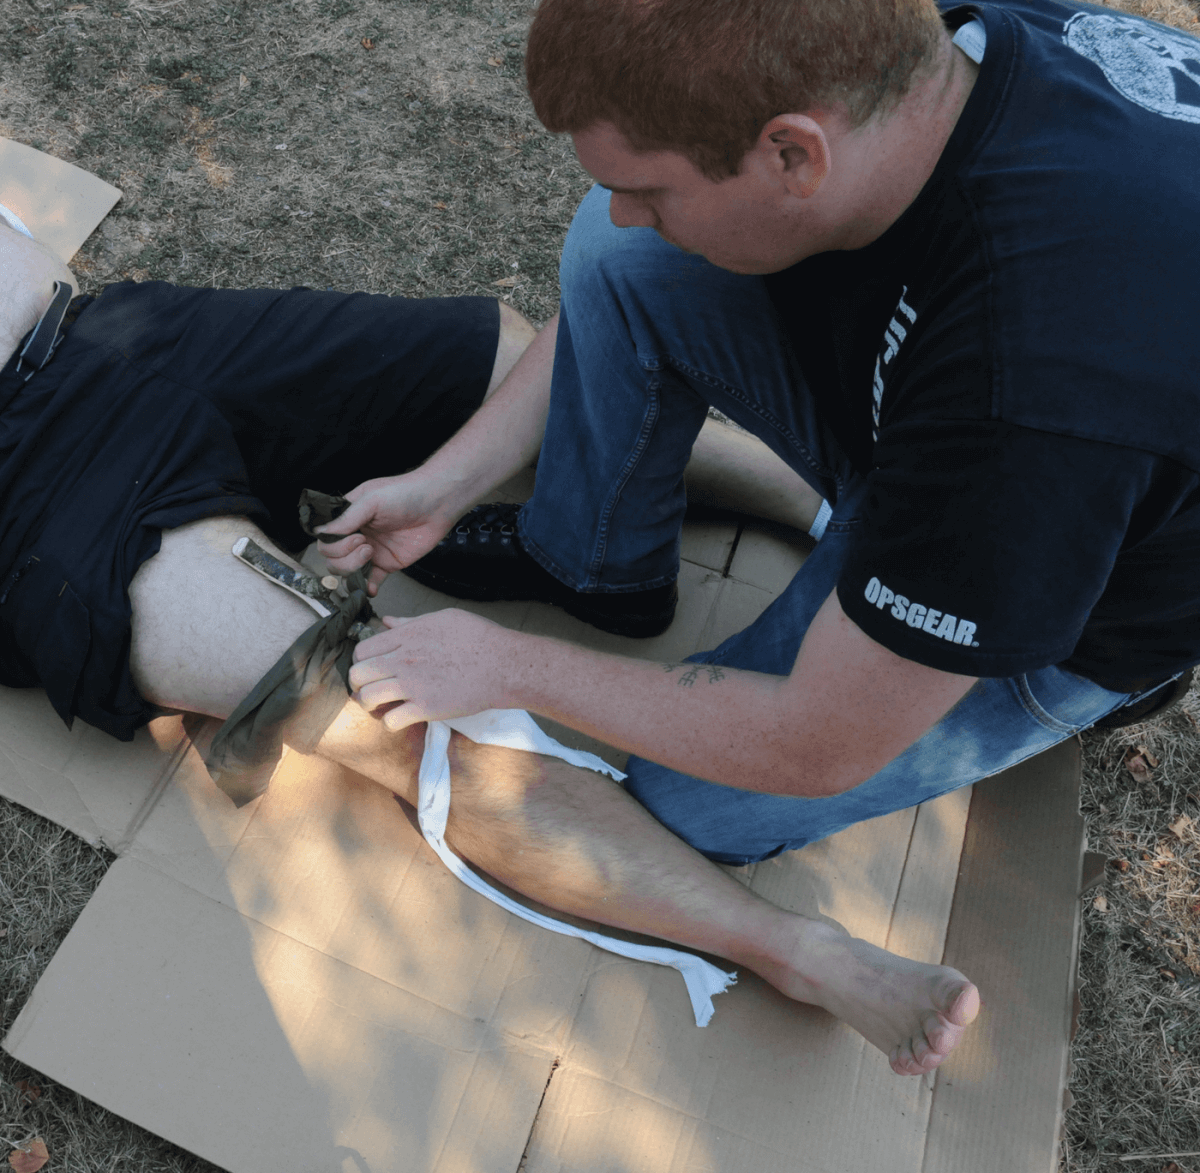
You’ll need two things to build a field tourniquet. First, a piece of fabric approximately 3 inches wide and long enough to wrap completely around the injured limb at least once. This could be, for example, a torn shirt sleeve or pants leg, a scarf, or a belt. Second, you’ll need something long and rigid like a stick, pen, or hairbrush handle. This item will be used to help tighten the tourniquet more effectively. If you happen to have a basic first aid kit, a triangle bandage paired with a pen light or a pair of trauma shears would make great items to start with.
Once you have your supplies, the first step in applying your field tourniquet is to wrap your fabric around the limb approximately 2-4 inches above the injury. However, do NOT place the tourniquet directly on a joint. If the wound is close to a joint, place the tourniquet above the joint, closer to the heart than the injury. While wrapping, make sure the fabric lies as flat as possible against the skin to prevent nerve and muscle damage.
Once the fabric has been wrapped around the limb, the next step is to knot the two ends of the fabric together around your stick or other rigid object and begin rotating the stick. Rotating the stick will cause the fabric to twist and tighten the tourniquet.

Tightening the tourniquet is one of the most important parts of applying the tourniquet. The tourniquet should be tight enough to stop the bleeding in about 1 minute (or less), but not so tight it’s causing extreme pain. Ideally, the tourniquet will be uncomfortably tight, but not incredibly painful, and the bleeding will stop within 60 seconds.
Once the tourniquet is tightened completely, you can knot it again to hold it in place while you wait for emergency services to arrive. Write down the exact time that the tourniquet was applied. Once the bleeding has stopped, leave the tourniquet on. Only medical professionals should remove the tourniquet.
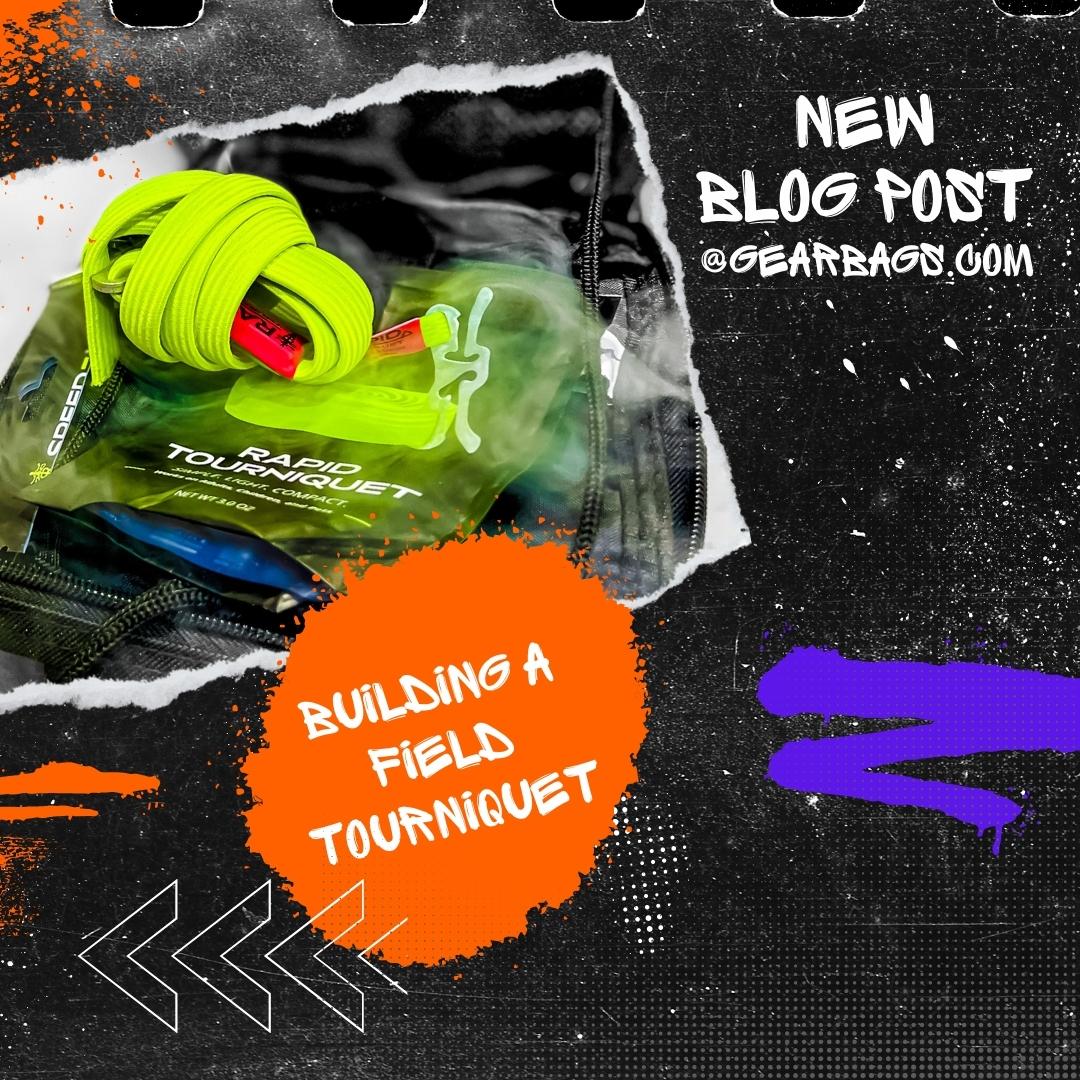
If you don’t already have a professional tourniquet, check out our RATS
and CAT tourniquets, and be sure to read our blog that details the pros and cons of each of those professional tourniquets.

Hopefully, should you need it someday, this article will be helpful for you. If it is, you can let us know in the comments section below, but first and foremost, make sure you’re staying safe out there!


 Supplies

 Tactical Trauma Kits
 Bleeding/TacMed